
How to cook chicken breast so it stays juicy
Chicken breast is the weeknight workhorse, and also the cut most likely to end up dry and chalky. Nobody sets out to overcook it. It just goes from perfect to tough in a minute or two, and from the outside you can’t tell. The fix is not a secret marinade. It is a few small habits, and one cheap tool.
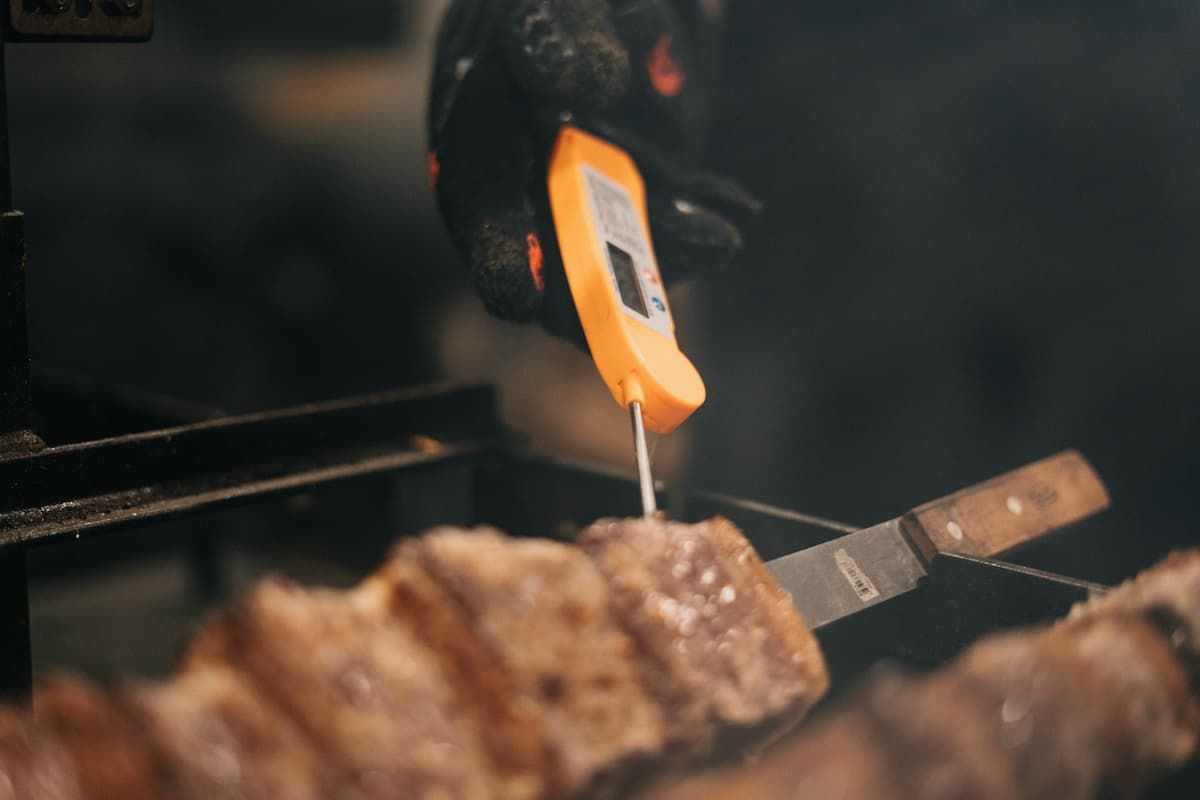
This guide covers the whole path: thawing safely, getting the meat ready, choosing a method and knowing when it’s done.
In this guide · 13 sections
- Why chicken breast dries out
- Thaw it safely first
- Get it ready: dry, even, seasoned
- Pick a method
- Know when it’s done: use the number
- Pan-seared chicken breast, step by step
- Oven-roasted chicken breast, step by step
- When things go wrong
- Ways to use cooked chicken
- Rest, slice and store
- The habits that matter
- Chicken questions, answered
- Sources and further reading
Why chicken breast dries out
Breast meat is lean, so it has little fat to protect it once the heat goes up. Two things usually go wrong. The first is thickness: the thin end overcooks while the thick end catches up. The second is guessing, since people cut into the meat, see it still looks pale or pink, and keep cooking “to be safe.” Both problems have simple answers, and neither needs special equipment beyond a thermometer.
Thaw it safely first
If the chicken is frozen, the way you thaw it matters for safety. The University of Nebraska–Lincoln’s food safety site lists the safe options and warns against thawing poultry on the counter or in the sink, which can expose you and your family to foodborne illness.
| Method | How it works | Then |
|---|---|---|
| Refrigerator | Slowest. Keep the fridge at or below 40°F (4°C) and put the chicken on a plate or pan so juices don’t drip on other food. | Plan ahead; cook when ready |
| Cold water | Seal the chicken in a leak-proof bag, submerge it in cold tap water and replace the water every 30 minutes. | Cook immediately |
| Microwave | Fastest. Use a microwave-safe container and your microwave’s defrost instructions, not foam trays or plastic wrap. | Cook immediately |
| Straight from frozen | Safe if you are in a hurry. | Check with a food thermometer |
Get it ready: dry, even, seasoned
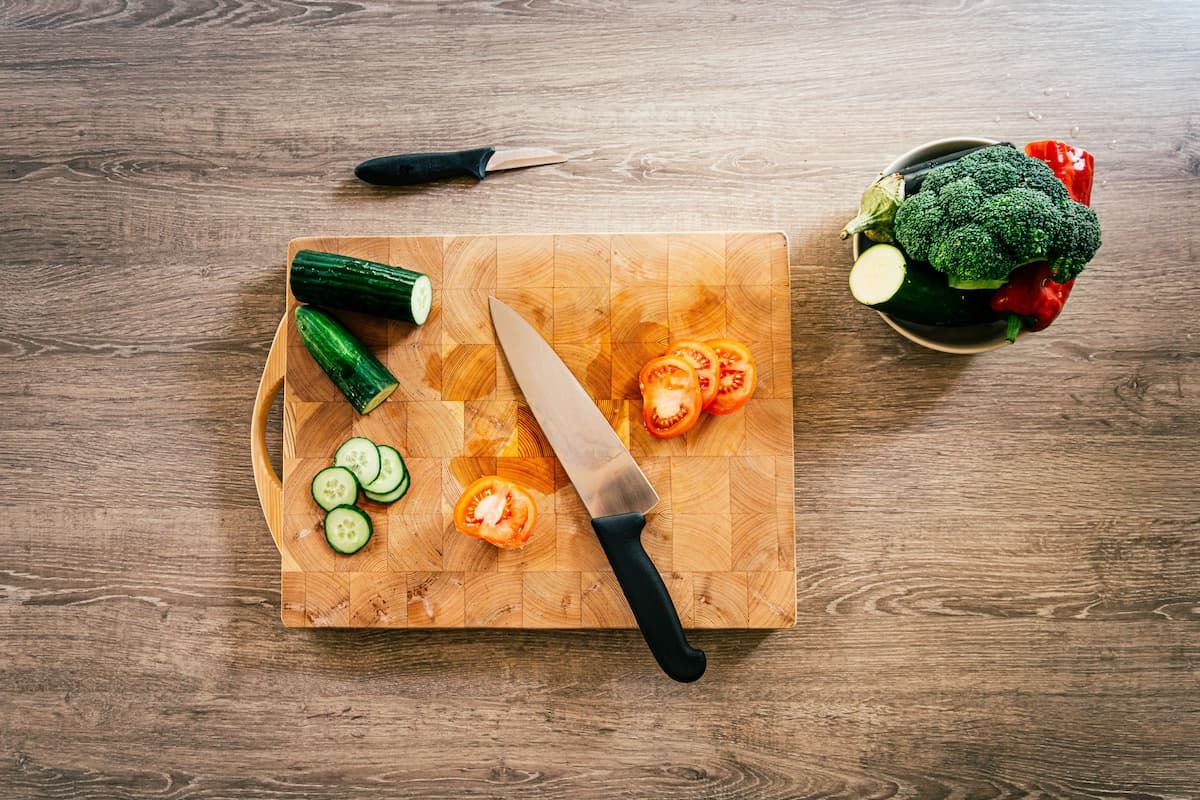
Three small steps before the pan is hot make the biggest difference. These are general cooking habits, not tested rules, so adjust them to your kitchen.
- Pat it dry. Surface moisture turns to steam, and steam prevents browning. Paper towels do the job.
- Even out the thickness. Put the breast between two sheets of parchment or plastic wrap and gently flatten the thick end with a rolling pin or a heavy pan. Or slice it horizontally into two thinner cutlets. Pieces of equal thickness finish at the same time.
- Season it. Salt the surface before cooking. Pepper and spices go on at the same time, or after, if you will cook on very high heat.
Pick a method
Any of these can give you juicy chicken. Choose by how much time and how many dishes you want to deal with.
| Method | Good for | Watch out for |
|---|---|---|
| Pan-sear | Quick dinners, cutlets, slicing over salad | Overcrowding the pan, which makes the meat steam instead of brown |
| Oven-roast | Several pieces at once, hands-off cooking | Thin pieces drying out; check early |
| Poach or simmer | Shredded chicken for salads, soups and sandwiches | A hard boil, which can toughen the meat; keep it at a gentle simmer |
Whatever you choose, preheat the pan or oven first, and give the pieces some space. If you are cooking a lot of chicken, cook it in two batches. Our stir-fry basics guide explains why crowding the pan changes the result.
Know when it’s done: use the number
The University of Maine Cooperative Extension lists 165°F (74°C) as the safe minimum internal temperature for poultry, including breasts. That number is what “done” means. Color and juices are not reliable, because chicken can look fully cooked and still be under temperature, and it can stay slightly pink and be perfectly safe.
Use a properly calibrated instant-read thermometer. Put the probe into the center of the thickest part of the meat, and check in two or three places. Clean the probe with hot, soapy water after each use. If it is below 165°F, cook a little longer and check again. Our guide to the kitchen tools a home cook needs explains where to push the probe in and why a thermometer is worth buying.
Leftovers should be reheated to 165°F too, according to the same extension guide.
Pan-seared chicken breast, step by step
- Prep. Thaw if needed, pat the chicken dry, flatten the thick end and season both sides.
- Heat the pan. Use a heavy skillet over medium-high heat with a thin layer of oil, and wait until the oil shimmers. A pan that is hot before the chicken goes in browns the surface instead of steaming it.
- Lay the pieces in, away from you, with space between them. Then leave them alone. Moving the meat around stops the browning.
- Flip once when the underside is golden and the meat releases easily from the pan. Turn the heat down a little if the outside is browning faster than the inside is cooking.
- Check the temperature. Push the probe into the thickest part. Take the chicken out at 165°F. If a thin cutlet is done and a thick one isn’t, take out the done one and keep cooking the other.
- Rest briefly, then slice or serve.
Cooking time depends on thickness, the pan and the heat, so no timer is more reliable than the thermometer. Thin cutlets can be ready in a few minutes per side, while a thick breast takes longer. If it’s not done and the outside is already dark, finish it in a moderate oven.
Oven-roasted chicken breast, step by step
- Preheat the oven and put a sheet pan or baking dish inside while it heats if you want a better sear on the bottom.
- Prep the chicken as above: dry, even and seasoned. A little oil on the surface helps it brown.
- Arrange the pieces on the pan with space between them. Overlapping pieces cook unevenly.
- Check early. Start checking the temperature before you think it’s ready. Ovens vary, and chicken can pass the safe point quicker than a recipe suggests.
- Remove at 165°F in the thickest part and let it rest before slicing.
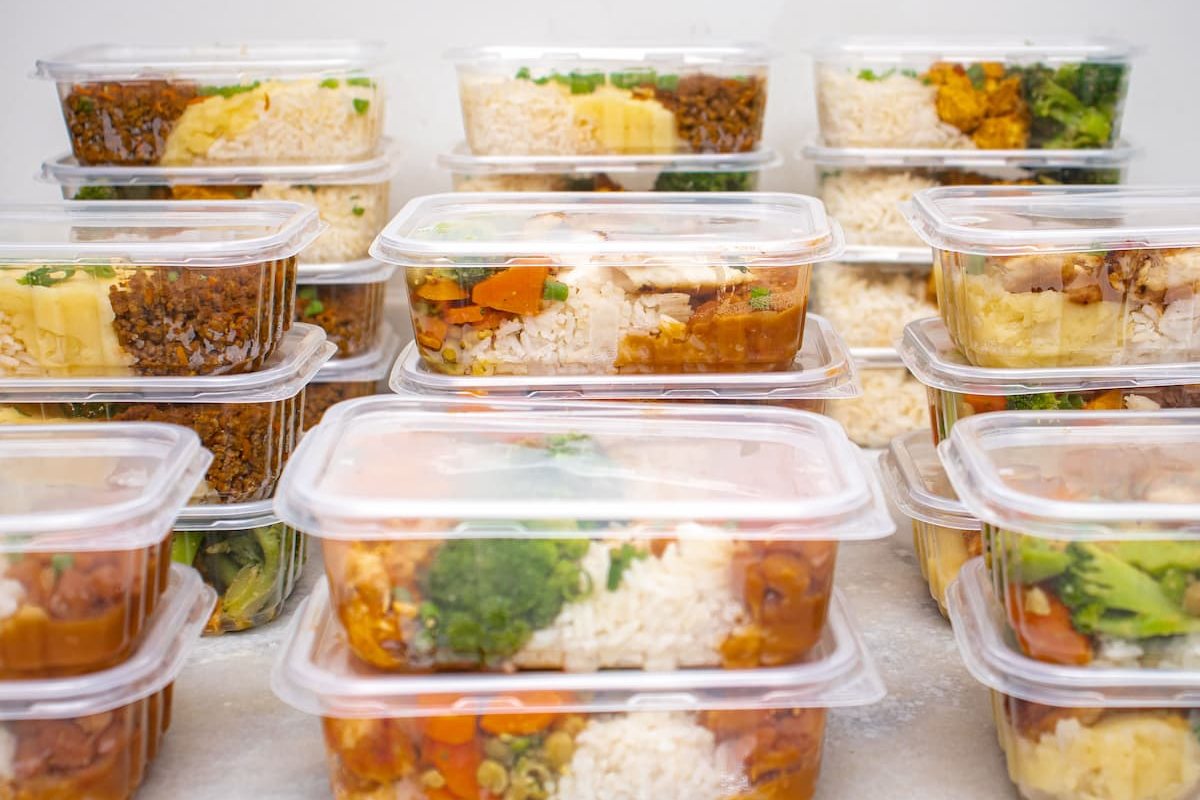
Roasting is the easiest way to cook several breasts for the week. Slice or shred the chicken once it has cooled slightly, then store it according to our meal prep guide.
When things go wrong
| Problem | Likely cause | What to try next time |
|---|---|---|
| Dry and stringy | Cooked past 165°F, or the breast was very thick | Use a thermometer and take it out at 165°F; flatten the thick end |
| Pale, no browning | Wet surface, cool pan or crowded pan | Pat dry, preheat well and cook in batches |
| Cooked outside, raw inside | Heat too high for the thickness | Flatten the meat or finish it in the oven; lower the heat |
| Stuck to the pan | Pan not hot enough, or you moved the meat too soon | Wait until the meat releases on its own before flipping |
| Rubbery texture | Overcooking, or a thin cutlet left on the heat | Check the temperature early on thin pieces |
Almost every problem on this list comes back to heat and timing, and a thermometer takes most of the guesswork out of both.
Ways to use cooked chicken
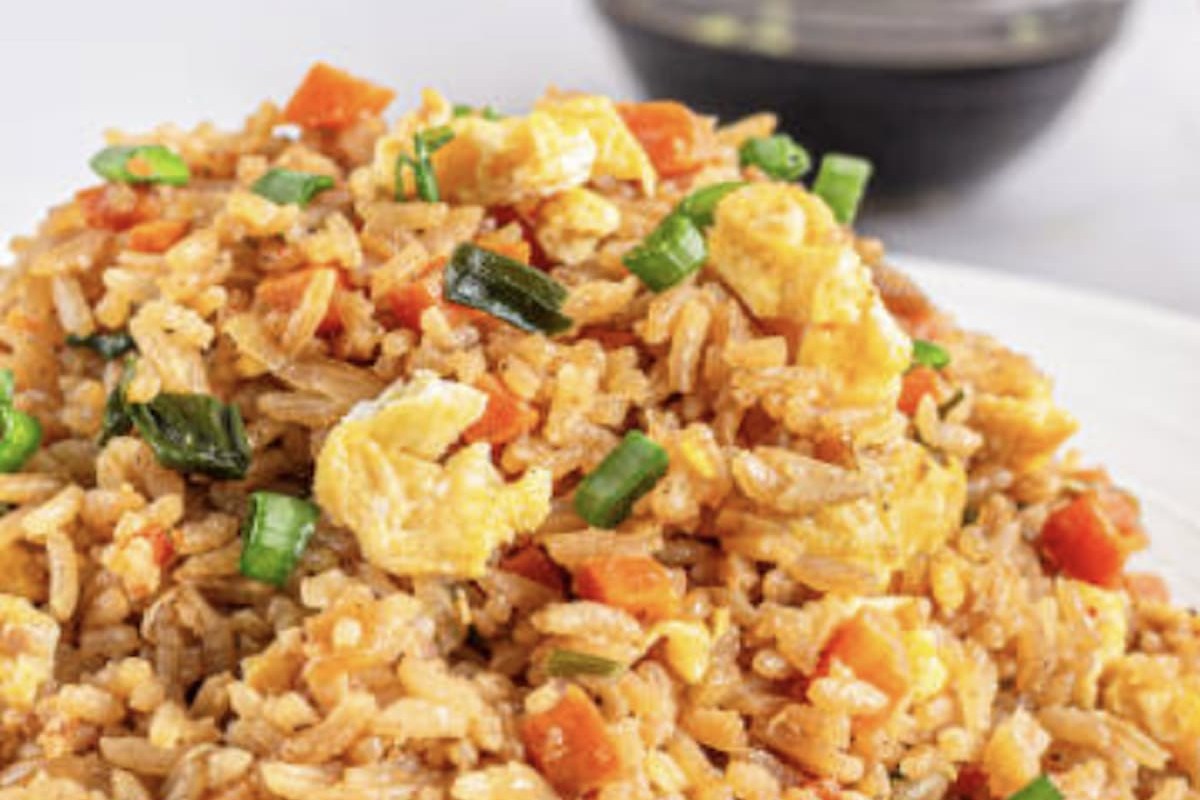
A batch of cooked chicken breast makes the rest of the week easier. Sliced, it goes into salads, wraps and sandwiches. Shredded, it works in soups, tacos and rice bowls. Diced, it can go into a stir-fry or fried rice; our guides to stir-fry basics and cooking rice on the stove cover those. Reheat leftovers to 165°F, as the University of Maine Cooperative Extension advises.
Rest, slice and store
Let the chicken sit for a few minutes before slicing, so the juices settle instead of running onto the board. This is a general kitchen habit rather than a food-safety rule, and a short rest is plenty. Slice against the grain for tenderness. Store leftovers promptly and follow the storage tips in our meal prep guide.
The habits that matter
Chicken questions, answered
What temperature should chicken breast reach?
165°F (74°C) in the center of the thickest part, according to the University of Maine Cooperative Extension. Check in two or three places with a calibrated instant-read thermometer.
Can I tell if chicken is done by its color?
Not reliably. The Academy of Nutrition and Dietetics says you can’t tell by sight, smell or taste whether food is safely cooked, so use a thermometer.
Is it safe to cook chicken from frozen?
Yes, according to the University of Nebraska–Lincoln, if you check with a food thermometer that it reaches a safe internal temperature.
How should I thaw chicken?
In the refrigerator, in a sealed bag in cold water (changing the water every 30 minutes), or in the microwave. Cook right away after the cold-water or microwave methods. Never thaw it on the counter.
Why is my chicken dry even at the right temperature?
Common reasons are uneven thickness, a pan that was too crowded or too cool, or cutting it before it rests. Flatten the thick end, give the pieces room and let it sit briefly before slicing.
Sources and further reading
Safe minimum temperatures, thermometer use and reheating follow the University of Maine Cooperative Extension’s In the Kitchen: Safe Minimum Internal Temperatures. Thawing methods follow the University of Nebraska–Lincoln’s how to thaw meat and poultry safely. The point that color is unreliable follows the Academy of Nutrition and Dietetics’ short guide to food thermometers. Tips on drying, flattening and resting are general cooking practice rather than tested results. “Fatih’s note” boxes are his own working habits.
Keep reading
 Everyday Meals · 10 min readStir-fry basics: a beginner’s guide to cooking in a wokLearn how to stir-fry at home: wok or skillet, heat and oil, prep, cooking order, a pantry sauce, tender meat and safe temperatures.
 Everyday Meals · 10 min readHow to meal plan for a week in 30 minutesA realistic 30-minute method to plan a week of dinners: check what you have, pick themes, shop by section, prep ahead and store leftovers safely.
 Kitchen · 8 min readThe kitchen tools a home cook actually needsA short, honest list of the kitchen tools that matter, and which ones you can skip.